Creating and Editing Menus

Last Updated

The menu of your website can also be your overall website navigation.

To view your menus, go to the Dashboard and on the left-side navigation click on Appearance and then Menus as shown below:

On this screen you will see your menu under Menu structure and the order from top to bottom represents which item is displayed on the front-end of your website.

You can add pages, posts, products or custom links by choosing an item from the Add menu items column and clicking the Add to Menu button.

This will add the item to the list in the Menu structure.

Ordering Menu Items

You can re-order the items by clicking on the menu item and dragging it up or down in ascending order.

You can also create sub-menu items by moving menu items underneath one another, as shown below:


These items can appear as a drop-down on the front-end of the website.

Click the Save Menu button to save your changes.

Edit or Remove Menu Items

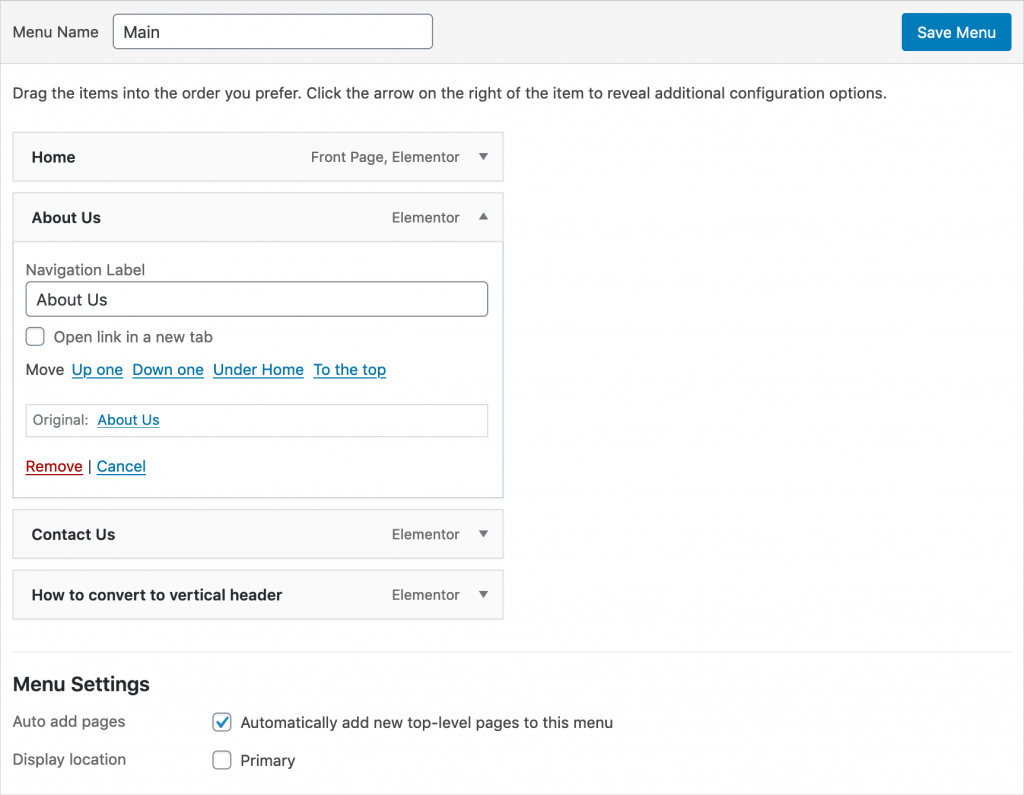
You can change the name of the menu item by editing the Navigation Label.

This allows you to rename an item in the navigation without having to rename the page.

You can also remove a menu item by clicking the Remove link.

Note, this removes the link from the menu and does not delete the actual page, post or category.